


Nintendo Sound Clock: Alarmo – Pricey But Delightful, And Something Only Nintendo Could Pull Off
Nintendo Sound Clock: Alarmo, one of Nintendo’s most perplexing yet delightful products in recent memory, was announced and launched simultaneously on Wednesday 9th October.
We’ve managed to bag ourselves one, so if you’re wondering whether this curious new device is worth the whopping $99.99 / £89.99 / €99.99 asking price, then you’ve come to the right place.
Note. We’re waiting until we’ve had a few nights with it before putting a final score on this Alarmo review – sufficient time to discover our favourite themes and really put it through its paces (well, as much as you can put an alarm clock through its paces). In the meantime, we’ll cover the design of the device, the initial setup, key features, and first impressions to hopefully help you make an informed decision if you just can’t wait for our final verdict.
So without further ado, let’s crack open the Alarmo box and see what we’ve got.
What’s in the box?
The box itself is pretty standard stuff: it’s admittedly a tad smaller than we were expecting and it’s utterly loaded with text that, frankly, we haven’t got the patience (or multilingual skills) to read. Let’s just rip this thing open.
Once you’ve unpacked everything and chucked the box to one side, you’ll find that you’re left with:
- the Alarmo clock itself,
- a USB-A to USB-C cable,
- and a dinky little instruction leaflet that folds out
We were a bit miffed at the lack of any AC adapter with this thing. Yes, omitting a power adapter has been common practice for big companies for quite some time, and Nintendo even removed it for its 3DS lineup after a while, but we feel it’s kind of necessary for an alarm clock.
Some homes these days include USB slots built into the wall, but these are still few and far between. So make sure you have one to spare – any old 5V phone adapter with a USB-A connector should do. If you have a spare Switch dock power cable, that should work fine, too.
Once you’ve placed your Alarmo clock in the optimal position on your bedside table, it’s time to get everything set up.
Nintendo Sound Clock: Alarmo – Design & Display
Before we dive into how the initial setup fares with Alarmo, let’s check out the actual design and screen display for this thing.
Starting off with the size and weight, it’s about as large as you’d expect an alarm clock to be, but probably a bit lighter at 237g (the Switch OLED weighs in at 319g). Granted, once you’ve got the thing set up on your bedside table, chances are you’re not going to be moving it about very much, but it’s nice that it’s so easily portable if need be.
The two buttons on top represent the ‘Back’ and ‘Sleep Records’ functionality. So essentially, rather than navigating to the Sleep Records screen within the display itself, a quick click of the right-side button will take you straight there. The buttons require next to no force, and they give off a nice, satisfying click when you do so; not unlike a volume button on the side of a premium mobile device.
On top, you have the circular dial. This thing lights up when the alarm is sounding, and you can spin it left and right to navigate through menus, pressing down to confirm. The controls are extremely responsive with very little lag, though there are some requirements (such as entering your internet password) that feel a bit finicky.
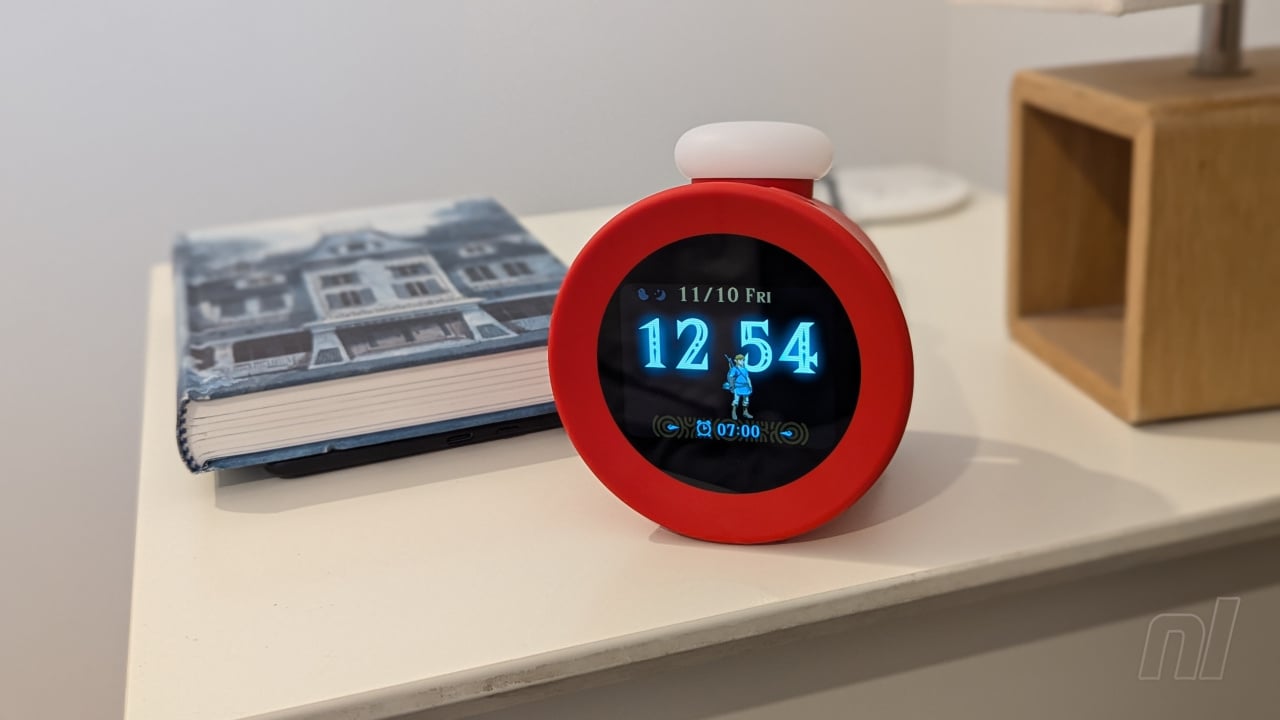
Onto the display itself, you’ve got a 2.8″ colour LCD screen, and it looks fantastic. At maximum brightness, the background colours really pop, and you can easily set it to dim slightly if the motion sensors aren’t detecting any nearby movement (naturally, the screen will also dim to the point where it’s almost completely black at night).
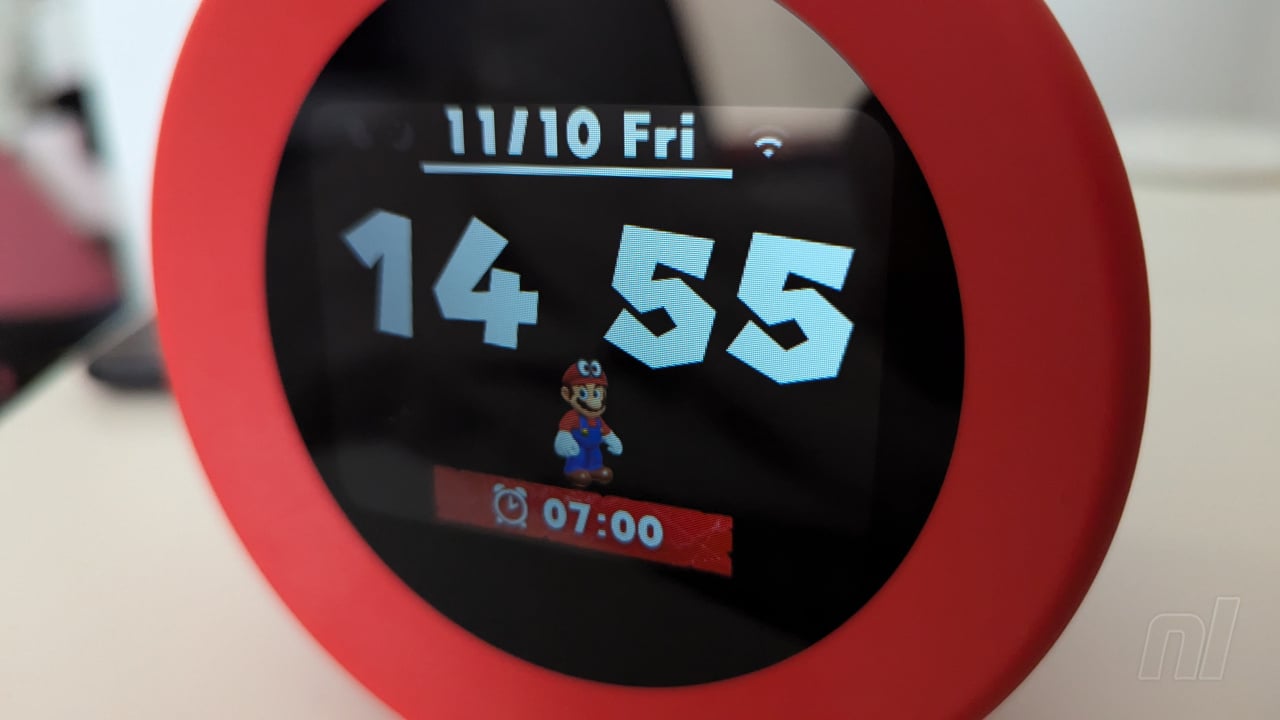
With the always-on clock display, you’ll have themed fonts and characters depending on which game you’ve chosen for your alarm. Watching Mario and Link run and jump around below the time itself is a delight.
Nintendo Sound Clock: Alarmo – Initial Setup
Setting up the Alarmo is, predictably, very easy and very ‘Nintendo’, meaning there’s a sliver of fun to be had in what is otherwise a pretty straightforward affair.
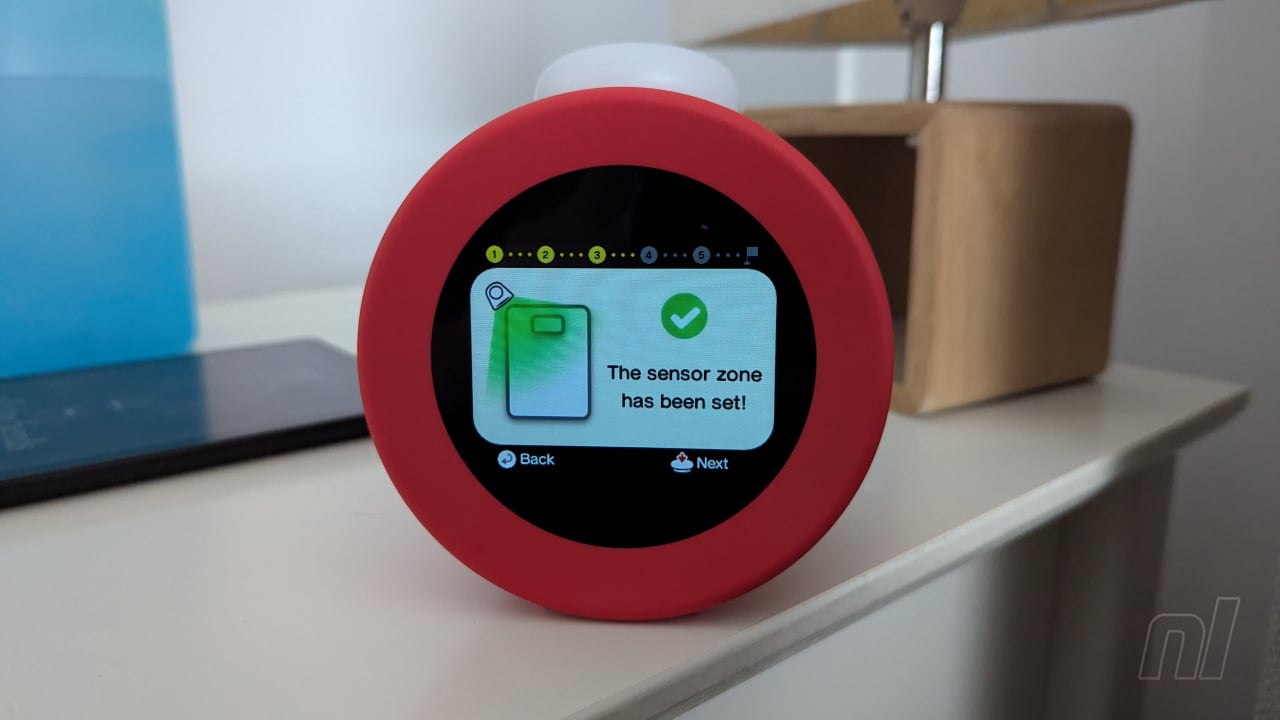
Now, we say it’s easy, but if you’re buying Alarmo for a young child, you should probably get the initial setup done yourself before handing it over. There’s nothing particularly difficult here, but you do need to understand what type of bed is in use (single, double, king, etc) along with where the Alarmo will be placed in relation to the bed itself.
You’re prompted to choose your language and region before manually setting the date and time; once you’ve gotten through the whole setup, you can connect to your internet and set the date/time automatically. Alarmo will then have you move side-to-side and back-and-forth to calibrate the motion detection tech properly, during which Mario will run around and grab coins to indicate that you’re doing the right thing.
Once you’ve tinkered with the initial placement, Alarmo initiates a test, asking you to lie in bed as if you’re asleep while playing a randomly selected piece of music to ‘wake you up’. It prompts you to get out of bed to stop the music, and if this doesn’t go quite as expected, you can alter a few settings before trying again.
When selecting which ‘scene’ to use as your alarm, the device annoyingly doesn’t play any kind of sample music, so unless you’re intimately familiar with the games themselves, you won’t know what tune to expect until the alarm actually starts. That said, each scene has a title and accompanying image, so it’s fairly easy to work out what kind of music will wind up playing.
A quick note on the sound quality too – it’s great. Granted, the volume isn’t going to compete with the likes of an Alexa or a Bose speaker, but it does the job considering how close you’re likely to be when sleeping. You can easily turn the volume up or down with the dial from the main screen, and the quality remains crisp and clear even at maximum.